Launching your own instances
Last updated on 2023-05-04 | Edit this page
Do I need to create my own instances?
If you are:
- teaching at or attending a centrally organized Data Carpentry workshop,
- a Maintainer for one of the Genomics lessons, or
- contributing to the Genomics lessons,
The Carpentries staff will create AMI instances for you. Please contact team@carpentries.org.
If you are:
- teaching at a self-organized workshop,
- working through these lessons on your own outside of a workshop,
- practicing your skills after a workshop, or
- using these lessons for a teaching demonstration as part of your Instructor checkout for The Carpentries,
you will need to create your own AMI instances using the launching your own AMI instance instructions.
If you are:
- considering what types of cloud computing resources are appropriate for you
- interested in modifying the AMI used in this workshop,
- want to create your own AMI from scratch, or
- want to use these lessons on a different cloud resources,
read the information and instructions below.
Choosing a cloud platform
The most important thing about The Cloud is choice - instead of purchasing a physical computer, you can obtain on-demand computing at almost any scale. This power comes with advantages and disadvantages:
Advantages of Cloud Computing
- Access large amounts of computing power on demand
- Full administrative rights - install anything
- Use pre-configured images (software already installed)
Disadvantages of Cloud Computing
- Cloud computing costs money (you must keep track of your costs)
- If you need help, you may not have a local system administrator
- Images may be poorly documented (you may not be clear on what is installed, or how to use it)
Cloud platform choices
There are several cloud providers to choose from. Some scientific clouds may either be free or allocate resources competitively. Commercial clouds are can be very powerful, but choice can be overwhelming. We will cover as much as we you need to get through the Data Carpentry lessons, but you will ultimately need to learn things not covered here so see the documentation below:
AWS (Amazon EC2 instances)
- See the
detailed instructions on launching an Amazon EC2 instance for this
workshop.
- You can launch any publicly available image by changing the AMI that you load in step 4 on that page.
- You can choose not to load an AMI at all, and install your own software later by skipping step 4 on that page.
- If you want to launch a different set of resources- more processors, more disk space, different operating system, etc; you can choose a different option at step 5.
- For more detailed instructions, and how-tos for other changes consult EC2 Getting Started.
Launching an instance on Atmosphere - These instructions are in beta and not fully tested!
Prerequisites
You must have an iPlant account (register at https://user.cyverse.org/ ) - You must also request access to Atmosphere (see documentation CyVerse requires Atmosphere users to have a valid .edu or .org email address )
Sign into Atmosphere and launch an instance
Sign into Atmosphere at: http://atmo.iplantcollaborative.org/
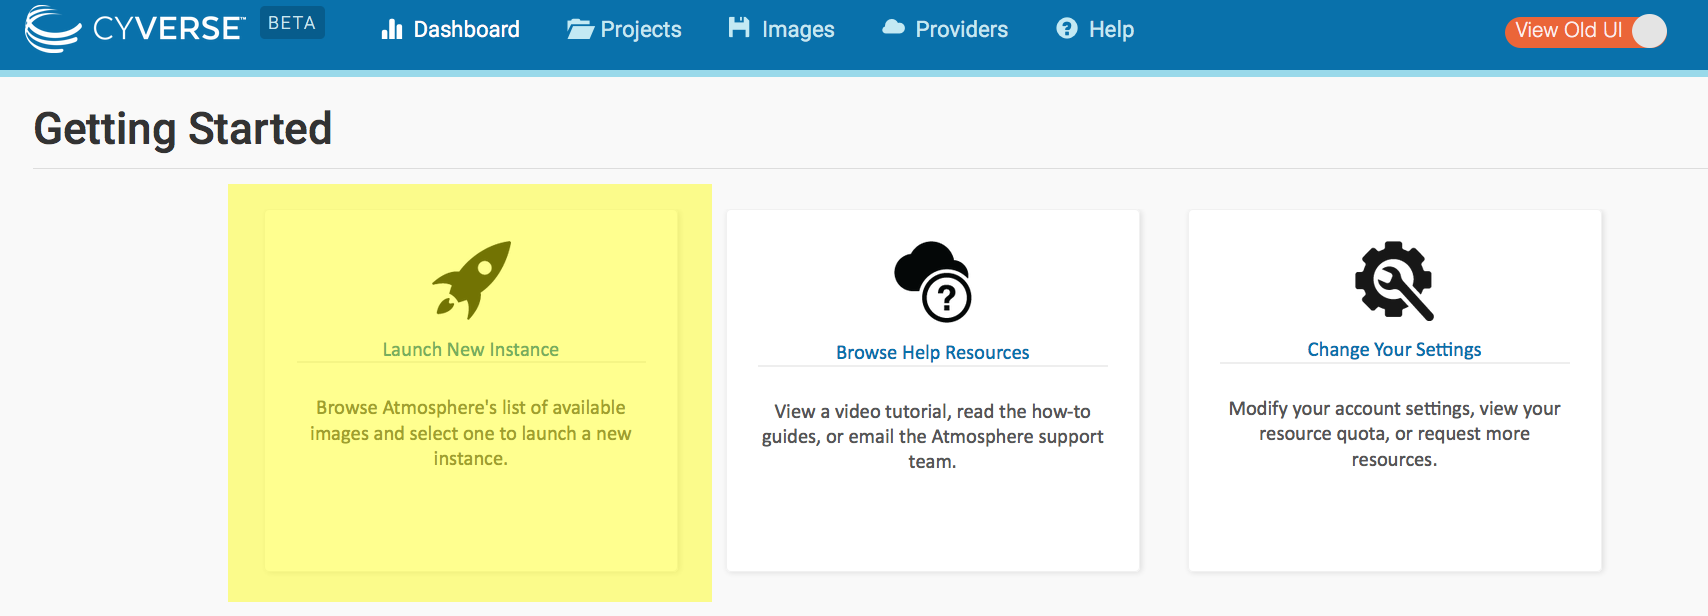
Select ‘Launch New Instance’

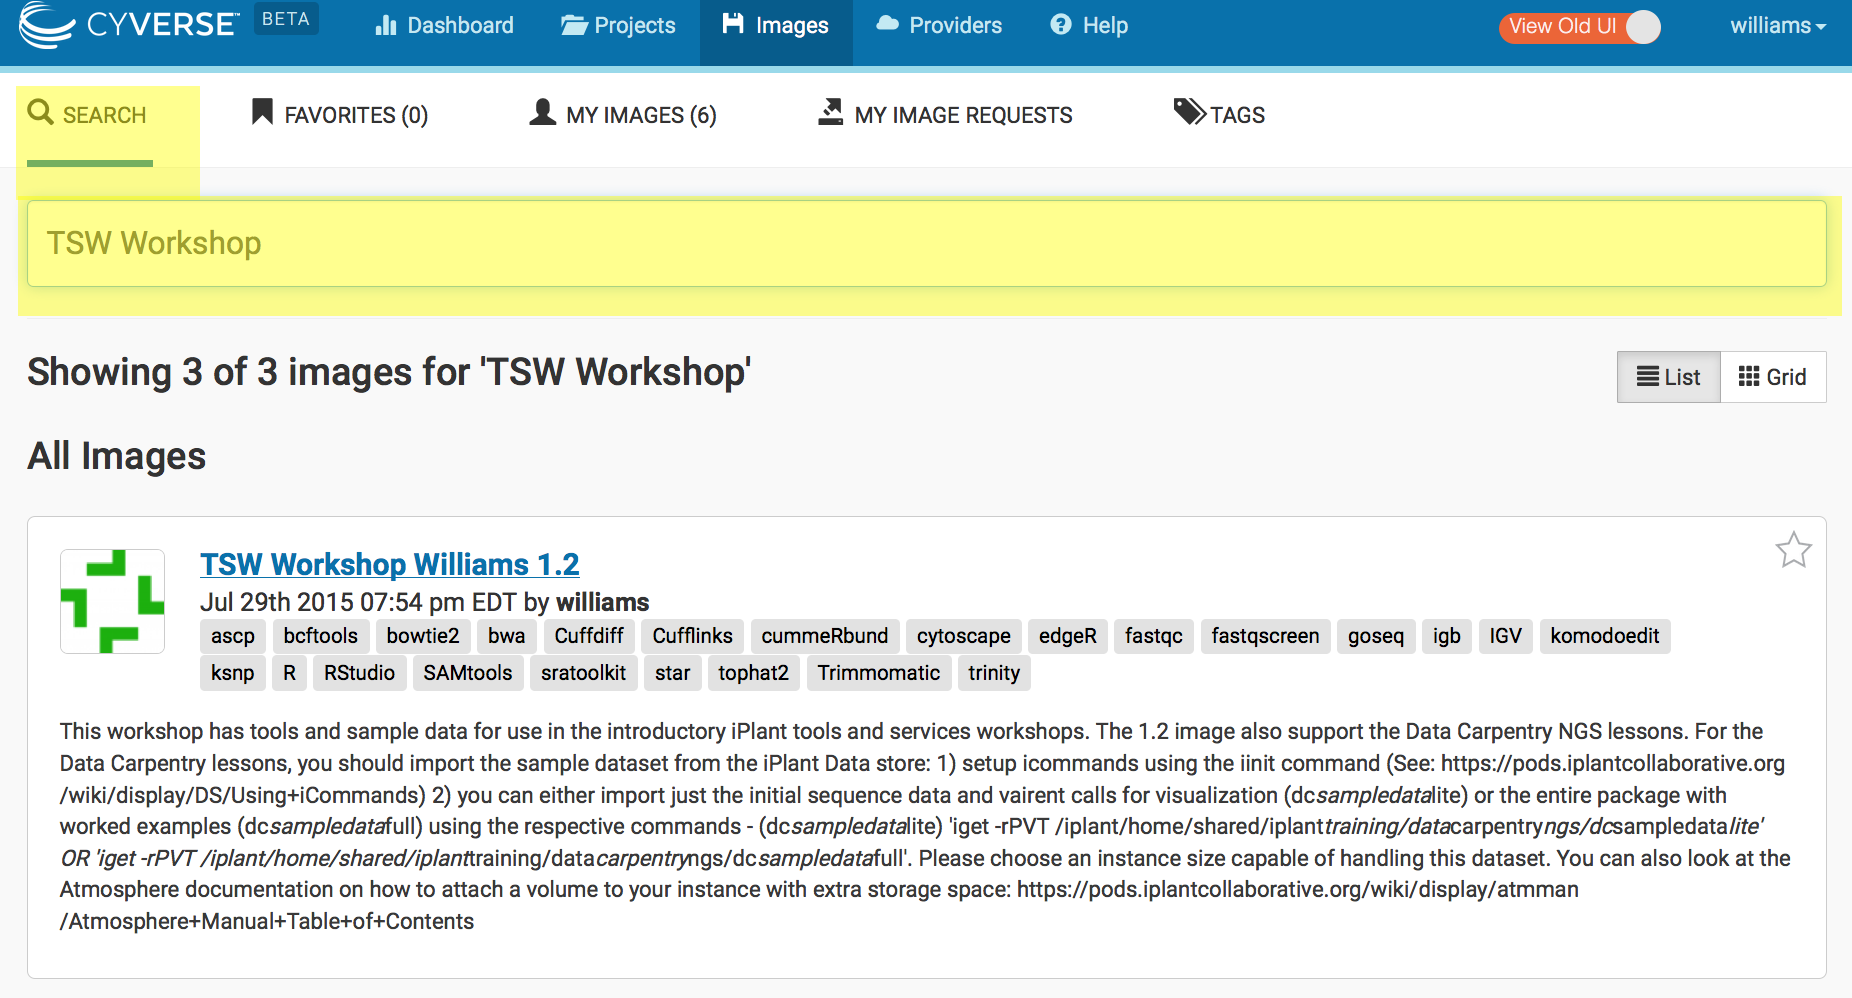
Search for the ‘TSW Workshop Williams 1.2’ image; Select this image.

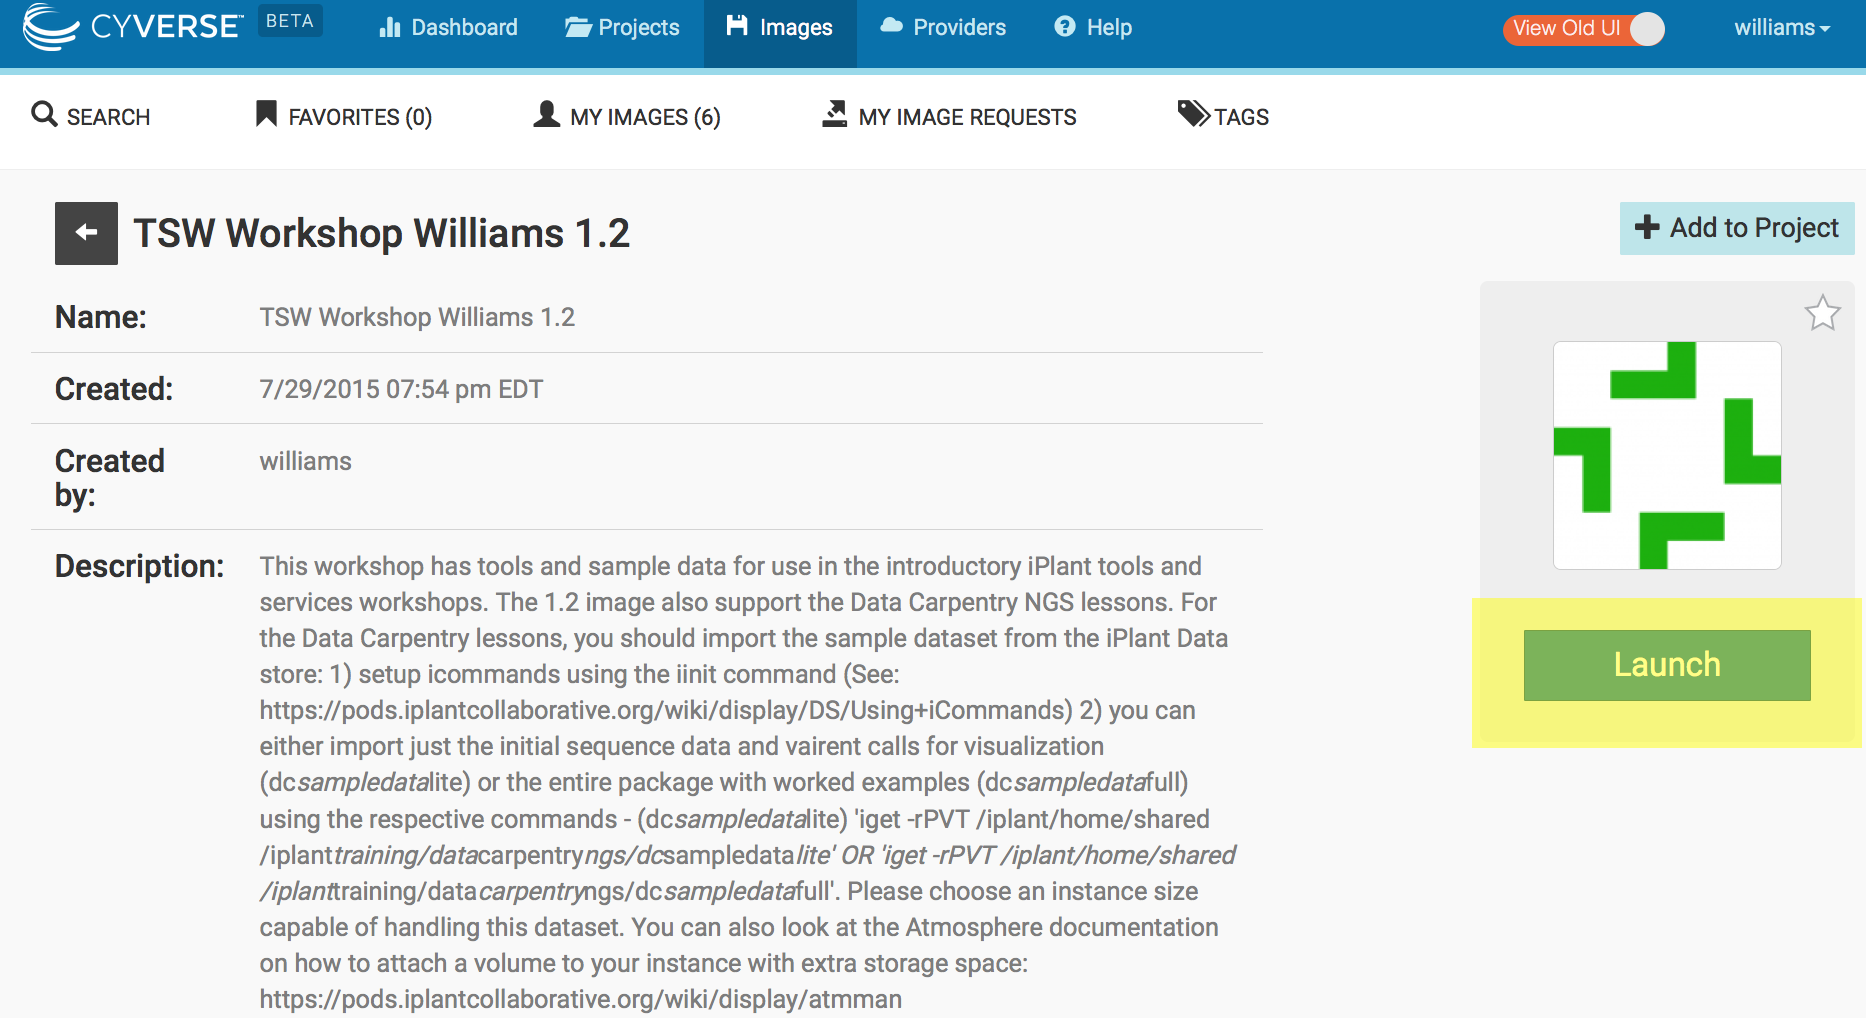
Click Launch and then select the following options in the launch wizard:

- Instance Name:Enter a name(optional)
- Base Image Version: 1.0
- Project: Choose an existing or create a new project.
- Provider: iPlant Cloud - Tucson
- Instance Size: small2
- Click Launch.
Tip: You can select a larger instance, but you must have sufficient resources (no exceeded quotas). If Atmosphere is at high capacity, you may not be able to launch an instance if the instance size exceeds what is currently free on the cloud provider
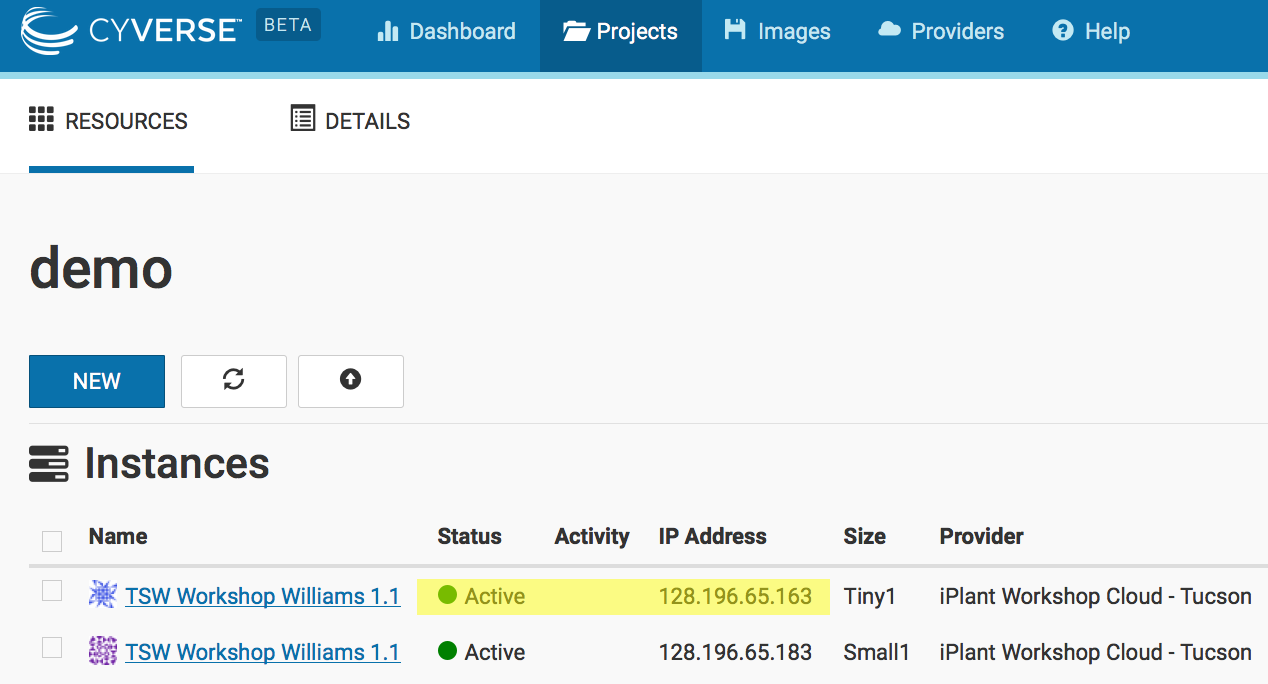
Your instance should be ready in 10-15 minutes. When your instance status is listed as ‘active’ you will be able to connect.
Connect to Atmosphere instance
Instructions for Mac/Linux
If necessary, log into your Atmosphere at: https://atmo.iplantcollaborative.org/application/images
Click on ‘Projects’ and select the project that contains your instance.
Verifying that your instance status is ‘active’, copy the IP address (e.g. 128.123.12.34) to your clipboard.

Open the terminal application and use ‘ssh’ to connect. Your command will be:
Your computer will be unable to verify the authenticity of the host… type yes to continue connecting
When prompted for a password, enter your iPlant username.
You should now be connected to your personal instance. You can
confirm this with the following commands;
whoami,pwd, which should yield the following
results:
BASH
Welcome to Ubuntu 12.04.2 LTS (GNU/Linux 3.2.0-37-virtual x86_64)

New release '14.04.2 LTS' available.
Run 'do-release-upgrade' to upgrade to it.

    _   _                             _
   / \ | |_ _ __ ___   ___  ___ _ __ | |__   ___ _ __ ___
  / _ \| __| '_ ` _ \ / _ \/ __| '_ \| '_ \ / _ \ '__/ _ \
 / ___ \ |_| | | | | | (_) \__ \ |_) | | | |  __/ | |  __/
/_/   \_\__|_| |_| |_|\___/|___/ .__/|_| |_|\___|_|  \___|
                               |_|

iPlant Collaborative

The user manual is located here: http://goo.gl/2pT72
For assistance, contact support@iplantcollaborative.org.

Last login: Fri Aug 14 10:16:50 2015 from dhcp140-78.cshl.edu
iplantusername@vm65-164:~$ whoami
iplantusername
iplantusername@vm65-164:~$ pwd
/home/iplantusernameNote: In the above example ‘iplantusername’ will be your actual iPlant username.
Instructions for PC
- Download the PuTTY application at: http://the.earth.li/~sgtatham/putty/latest/x86/putty.exe
- If necessary, log into your Atmosphere at: http://atmo.iplantcollaborative.org/
- Click on ‘Projects’ and select the project that contains your instance.
- Verifying that your instance status is ‘active’,
copy the IP address (e.g. 128.123.12.34) to your clipboard.

- Start PuTTY. In the section ‘Specify the destination you want to connect to’ for ‘Host Name (or IP address)’ paste in the DNS address and click ‘Open’
- When prompted to login as, enter your iPlant username; you may be notified that the authenticity of the host cannot be verified - if so, ignore the warning an continue connecting
- When prompted for a password enter your iPlant password.
You should now be connected to your personal instance. You can
confirm this with the following commands;
whoami,pwd, which should yield the following
results:
BASH
Welcome to Ubuntu 12.04.2 LTS (GNU/Linux 3.2.0-37-virtual x86_64)

New release '14.04.2 LTS' available.
Run 'do-release-upgrade' to upgrade to it.

    _   _                             _
   / \ | |_ _ __ ___   ___  ___ _ __ | |__   ___ _ __ ___
  / _ \| __| '_ ` _ \ / _ \/ __| '_ \| '_ \ / _ \ '__/ _ \
 / ___ \ |_| | | | | | (_) \__ \ |_) | | | |  __/ | |  __/
/_/   \_\__|_| |_| |_|\___/|___/ .__/|_| |_|\___|_|  \___|
                               |_|

iPlant Collaborative

The user manual is located here: http://goo.gl/2pT72
For assistance, contact support@iplantcollaborative.org.

Last login: Fri Aug 14 10:16:50 2015 from dhcp140-78.cshl.edu
iplantusername@vm65-164:~$ whoami
iplantusername
iplantusername@vm65-164:~$ pwd
/home/iplantusernameNote: In the above example ‘iplantusername’ will be your actual CyVerse username.
Setup iCommands
Prerequisites
- You must be connected to your Atmosphere instance
iCommands will allow you to quickly transfer data into your Atmosphere instance:
- Initialize iCommands using the following command
- You will then be asked to setup your account and will need to enter the following information
| Prompt | Entry |
|---|---|
| irodsHost | data.iplantcollaborative.org |
| port | 1247 |
| zone | iplant |
| irodsUserName | your iplant username |
| Current iRODS password | your iplant password |
- Verify that you have connected to your iPlant Data Store; view the
contents of your home directory using the following the
ilscommand:
Copy Sample Data to your instance
- Enter the following command:
- using
lsyou should be able to verify you have downloaded the dc_sampledata_lite directories and files.
Tip: You can use iCommands to move data between your computer, a cloud instance, and the CyVerse Data Store. iCommands is installed on the Data Carpentry Amazon AMI. You can download and see documentation for iCommands here
Terminating your Atmosphere instance
When you are finished with your instance, you must terminate. Follow the following steps.
If necessary, sign into Atmosphere: http://atmo.iplantcollaborative.org/
Locate your instance (e.g. select ‘Projects’ and then select the project that contains the instance you will terminate.)
Click on the instance name to get to the ‘Actions’ menu. You may then select the ‘Delete’ button to terminate the instance.
Warning: This will delete any data on this instance, so you must move any data you wish to save off the instance (for example by using iCommands).
- After reading the warning and confirming you are ready, click ‘Terminate’ to terminate the instance.
